





























































Updated October 2026
Renovating your kitchen goes most smoothly when you work in order. First decide what you need and set a budget. Then plan the layout and choose your appliances before cabinets are ordered. Hire the right team and pull permits, build in phases, set up a temporary kitchen to live through it, and finish with a careful walkthrough. Choosing appliances early is the step people skip most often, and it's the one that saves the most headaches later.
A kitchen remodel can add value to your home and make everyday cooking and entertaining more enjoyable. It's also a big project with plenty of moving parts. This guide brings together everything our team has learned about planning, building and surviving a remodel, in one place.
Step 1: Decide what your new kitchen needs to do
Start by looking hard at your current kitchen. What works, and what frustrates you every day? Note storage you lack, counter space you wish you had, and spots where people bump into each other while cooking.
Then think ahead. Will your family grow? Do you entertain more than you used to? Are you a serious cook who wants a bigger range or a second oven? It's often time to remodel when the design feels dated, the layout no longer fits how you live, or several major appliances are nearing the end of their lives at once.
Step 2: Set a realistic budget (and a cushion)
Your budget guides every other decision, so set it before you fall in love with finishes. Account for all the costs:
- Design and labor (contractor, trades, designer or architect)
- Cabinets, countertops, flooring, lighting and fixtures
- Appliances and ventilation
- Permits and inspections
- A contingency fund for surprises such as hidden water damage or outdated wiring
Get several written quotes and overestimate rather than underestimate. You may need to trade off some wants to protect the essentials. That's normal, and it's better to decide that on paper than mid-project.
How to pay for it: Homeowners commonly use savings, a home equity loan or a home equity line of credit (HELOC). Property investors may have access to business or renovation financing. For the appliances, we offer financing at checkout through Affirm, Shop Pay Installments, Klarna and Bread Pay, and bundling your appliances in a package costs less than buying each piece separately.
Step 3: Plan a layout that works for how you cook
The layout has more effect on how your kitchen works than any finish you choose. Base it on your cooking habits and daily routines, and aim to keep the sink, cooktop and refrigerator within easy reach of each other without crossing traffic. Galley, L-shaped, U-shaped and island layouts all work well when they suit the room's size and shape.
- Storage: Plan cabinets and drawers around what you actually own, including tall items, small appliances and pantry goods.
- Lighting: Layer ambient lighting for the whole room, task lighting over counters and the cooktop, and accent lighting for display areas. Make the most of natural light where you can.
- Materials: Weigh durability, maintenance and cost for countertops, flooring and backsplashes. Sustainable materials are worth a look if they suit your lifestyle.
- Trendy vs. timeless: Trends come and go, but a kitchen stays for years. Use trends in easy-to-change places such as paint, hardware and lighting.
Step 4: Choose your appliances before the cabinets are ordered
Cabinet and countertop plans depend on exact appliance dimensions, and appliances depend on your gas, electrical, plumbing and venting. Pick them early so your designer and contractor can plan around real specs.
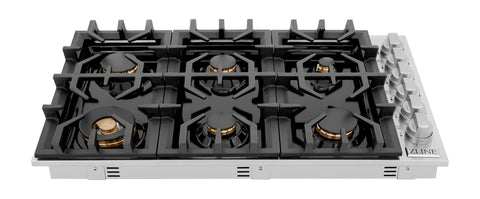
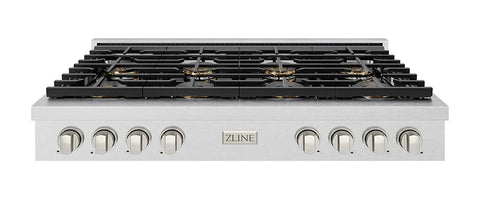
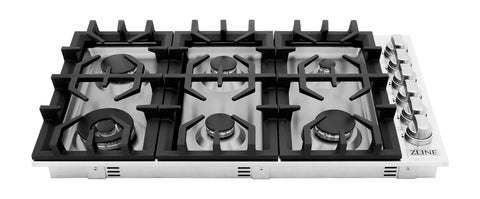
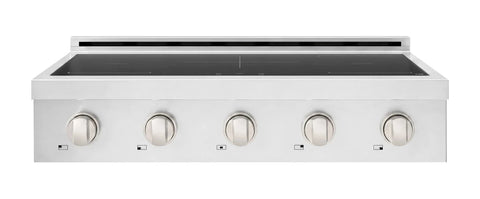
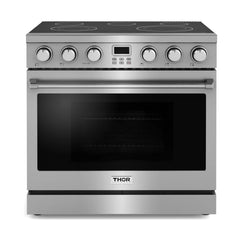
- Range or cooktop: Decide on width (30, 36 or 48 inches are common) and fuel type. Gas and dual fuel ranges need a gas line. Electric and induction ranges need a dedicated 240-volt circuit. Our guide on how to choose the perfect stove compares the options, and you can browse ranges.
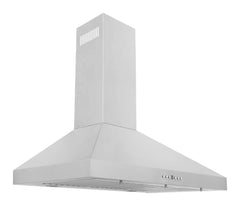
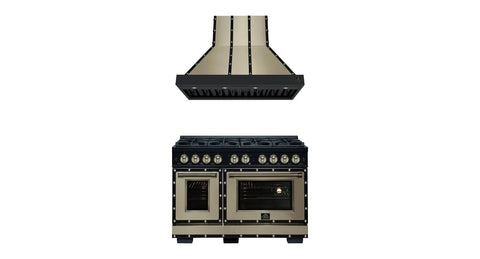
- Ventilation: Size the hood to your cooktop, plan the duct route before ceilings close up, and check whether your local code requires make-up air for higher-CFM hoods. Read What Is a CFM Rating for Range Hoods?
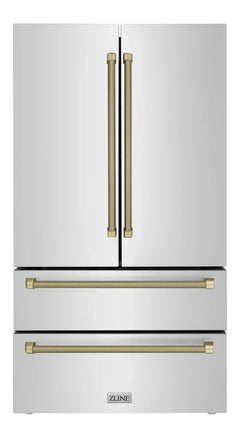
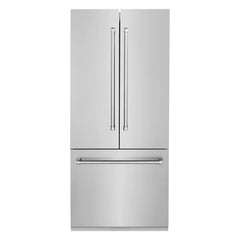
- Refrigerator: Choose standard-depth or counter-depth, confirm the door swing clears walls and islands, and plan a water line if you want an ice maker or dispenser. See refrigerators.
- Dishwasher: Place it next to the sink for easy plumbing and loading. See dishwashers.
- Delivery path: Measure doorways, hallways and stairs so large appliances can get into the kitchen.
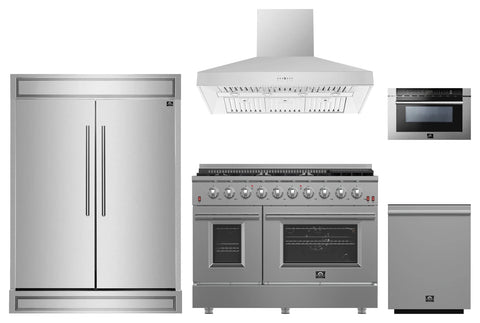
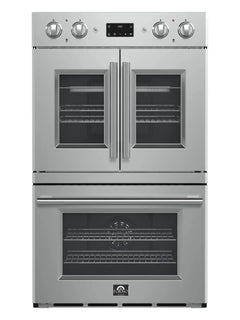
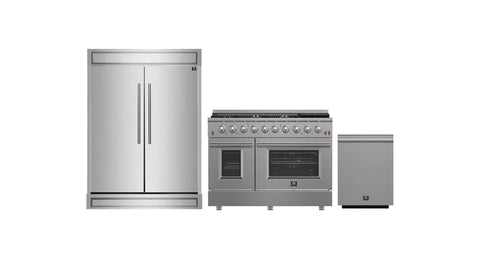
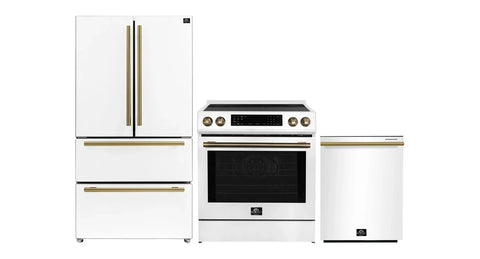
To keep finishes and styling consistent, consider a matching set from one brand. Our appliance packages bundle a range, refrigerator, dishwasher and more, or you can build your own bundle. One CPS extended protection plan can cover the whole package. For a deeper look at sizes, fuel types and features, read our kitchen appliance buying guide and why an appliance package makes good money sense.
Step 5: Hire the right professionals and get permits
DIY or hire a pro?
DIY can save money on demolition, painting and some finish work. Plumbing, electrical, gas and structural changes are best left to licensed professionals, both for safety and to pass inspection.
Vetting a contractor
Shortlist several contractors, check reviews and references, and confirm licensing and insurance. Get a detailed written contract that spells out scope, materials, schedule, payment milestones and how change orders are handled. A designer or architect can refine your plan and help you avoid costly layout mistakes.
Permits and safety
Many projects that touch electrical, plumbing, gas or structural elements need permits and inspections. A good contractor will handle these. If your home was built before 1978, the EPA requires anyone paid to do work that disturbs painted surfaces to be lead-safe certified. If you suspect asbestos in old flooring or ceilings, have it tested and handled by professionals.
Step 6: Understand the remodel timeline
Every project is different, but most kitchen remodels move through the same phases:
- Design and planning: layout, materials, appliance selection and permits.
- Ordering: cabinets, countertops and appliances. Confirm lead times and delivery dates before demolition starts.
- Demolition and prep: removing old cabinets, fixtures and appliances, and fixing anything hidden behind them.
- Rough-in: structural changes plus new plumbing, electrical, gas and duct runs, followed by inspections.
- Cabinets and countertops: cabinets go in first, and countertops are usually measured and fabricated after that.
- Appliances and fixtures: range, hood, refrigerator, dishwasher, sink and faucet.
- Finishes and cleanup: backsplash, paint, lighting, trim, then a punch list and final inspection.
What stretches a timeline? A complex design, back-ordered materials, contractor availability, permit delays and surprises like mold or faulty wiring. Ask your contractor for a written schedule, build in some slack, and stay in regular contact so small issues don't snowball.
Step 7: How to survive living through a kitchen remodel
Set up a temporary kitchen
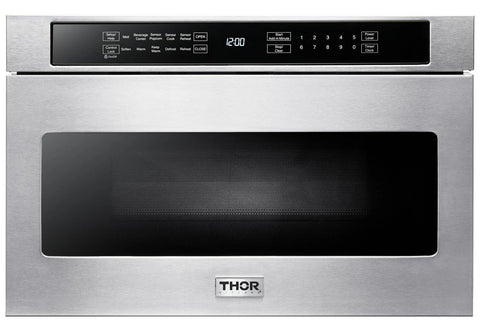
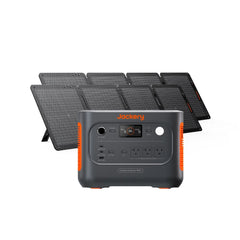
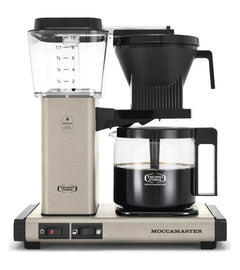
Pick a spot away from the work zone, such as a dining room, basement or garage, and set it up with a refrigerator, a microwave or countertop oven, an air fryer or slow cooker, a coffee maker, and a small prep surface. A laundry or bathroom sink can work as your dishwashing station, and paper plates will save your sanity.
Simplify meals
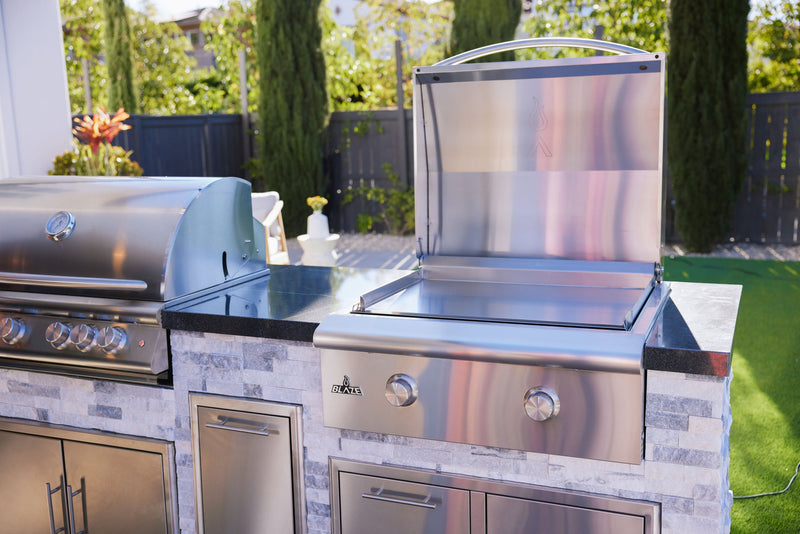
Plan easy recipes, prepared meals and a few takeout nights. If the weather cooperates, an outdoor grill is a great way to keep cooking real food while the kitchen is out of commission.
Protect your home, family and pets
- Pack away everything you won't need, and use the garage, basement or a spare room for storage.
- Ask your contractor to seal the work area with plastic barriers to control dust.
- Keep children and pets away from the construction zone, tools and debris.
- For the messiest phases, consider staying with family or in a short-term rental if you can.
Avoid decision fatigue
A remodel involves hundreds of choices. Make the big ones (layout, cabinets, countertops, appliances) early, write them down, and stick to your vision. When you're stuck, ask your designer or contractor for a recommendation instead of reopening every option.
Expect the unexpected
Even well-planned projects hit surprises, such as an out-of-stock cabinet or wiring that needs updating. Stay flexible. Sometimes the workaround turns out better than the original plan.
Step 8: Final walkthrough and checklist
Before you sign off and make the final payment, walk through everything with your contractor:
- Test every appliance: all burners or zones, the oven, every hood fan speed and light, refrigerator temperatures, and a full dishwasher cycle (check for leaks underneath).
- Run the faucet and garbage disposal, and look under the sink for drips.
- Open and close every door and drawer to check alignment, soft-close hardware and clearance around appliances.
- Inspect countertop seams, caulking, grout, paint and trim.
- Confirm that electrical work meets current code and that final permit inspections are signed off.
- Register your appliance warranties with each manufacturer, and keep manuals, receipts and serial numbers in one place.
- Deep clean to remove construction dust, then unpack and organize. It's a great chance to declutter.
Bringing your new kitchen to life
A successful kitchen renovation comes down to clear goals, a realistic budget, a layout built around how you cook, and appliances chosen early enough to plan around. Add a good team, a temporary kitchen and a little flexibility, and you'll come out the other side with a space you love. When you're ready to pick appliances, browse our appliance packages or reach out to our team for help matching a range, hood, refrigerator and dishwasher to your new layout.
Comments
0 comments